Introduction[]
As Metal Waltz features Live2D on some of its characters, the files can be taken from the APK and used on your desktop. This tutorial will take you through the process of downloading and viewing the models.
Downloads[]
First, you will need to download Live2D viewer from here.You will also need to download Adobe Air (if you don't already have it) from here.
Once you have downloaded and installed Live2D viewer, download all of the Metal Waltz assets from here.
If you have trouble finding Live2D viewer, it should be located in C:\Program Files (x86)\Live2D Viewer
Tutorial[]
I will be using Panzer 38(t) Ausf. D as a reference.
1. Open up Live2D viewer and then navigate to the folder of the tank girl of your choice. Live2D viewer should say "Drop moc file", and there will be a .moc file in the tank girl folder. Simply drag it into Live2D viewer (or double click the .moc) and you should get something like this:
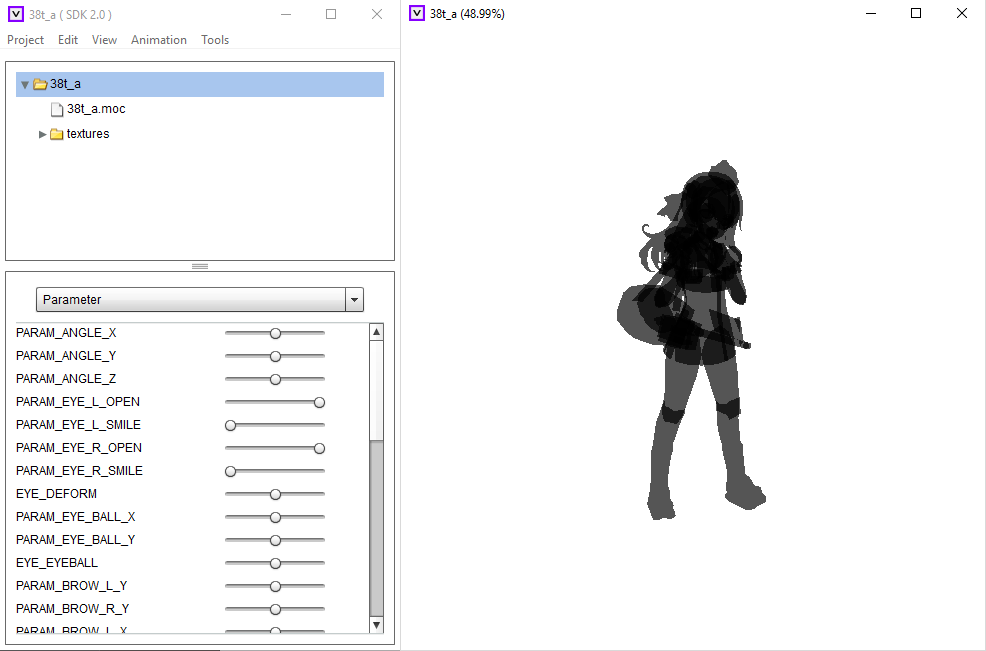
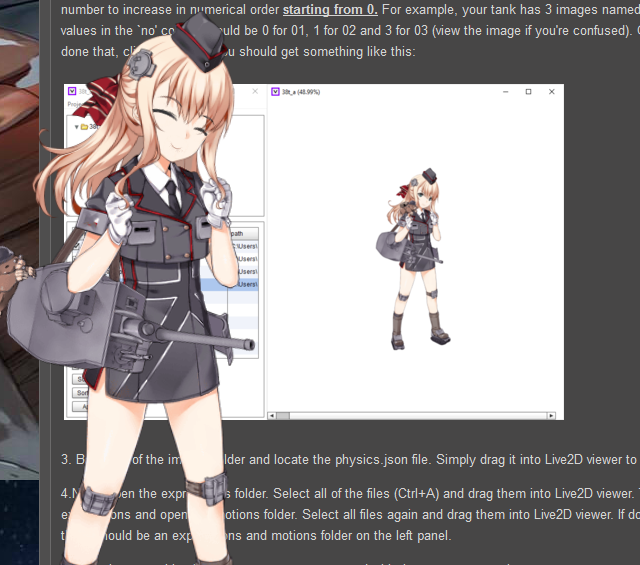
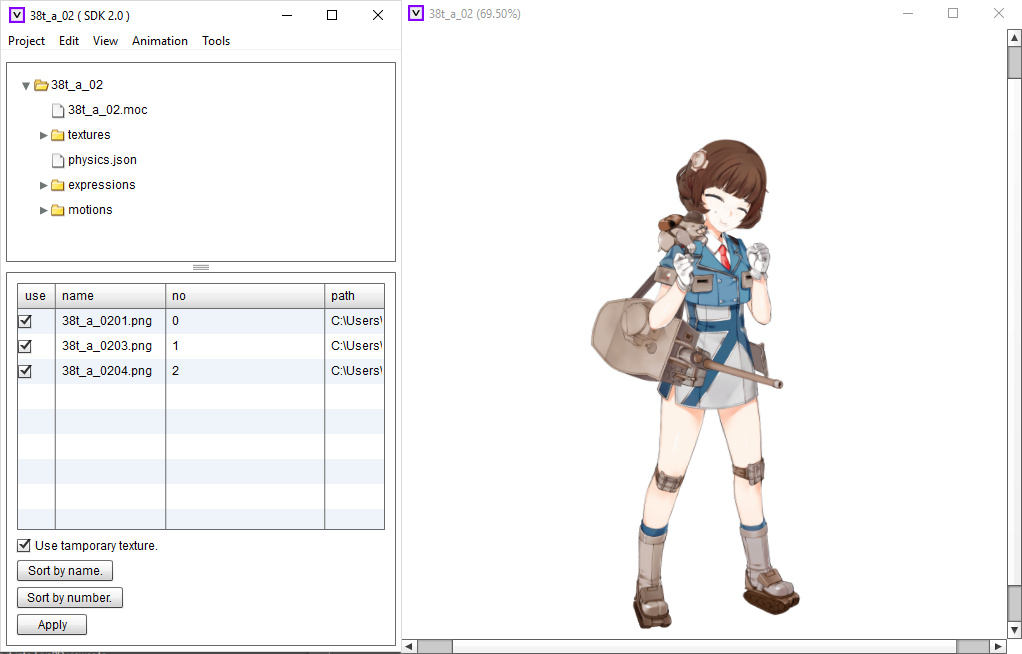
2. In the folder of your tank girl, navigate to the folder with her name - 38t_a in my case. There should be a number of files ending with .pn_, change the extension to .png and drag the files into Live2D viewer. On the text panel, there should be a folder titled textures. Clicking on it should show a list of the images that you recently renamed. On the left of the list, check all the boxes under the `use' column. To the right side under the `no' column, you'll want to change the number to increase in numerical order starting from 0. For example, your tank has 3 images named 01, 02 and 03. The values in the `no' column would be 0 for 01, 1 for 02 and 3 for 03 (view the image if you're confused). Once you have done that, click apply and you should get something like this:

3. Back out of the images folder and locate the physics.json file. Simply drag it into Live2D viewer to enable the physics.
4.Next, open the expressions folder. Select all of the files (Ctrl+A) and drag them into Live2D viewer. Then back out of expressions and open the motions folder. Select all files again and drag them into Live2D viewer. If done successfully, there should be an expressions and motions folder on the left panel.
5. Now that everything is done, you can mess around with the preset expressions or create your own with the sliders. To remove the white background, click view --> Show canvas window. You can also add lip sync by going to Project --> Add --> Lip-Sync. You can then configure the options in the lip sync file that will be created below the motions folder.
After that, you should be ready and have your own tank girl on your desktop:
Simpler method[]
There is an easier way to load up the necessary files in one step, and this eliminates the issue of identifying the correct textures for maidens that share a model. Note that you should convert the images to .png beforehand for instant success.
- Open up Live2D Viewer.exe on your computer. You should be presented with a box asking for a moc file.
- Locate the folder of the maiden you want and drag the .json file into the Live2D Viewer box.
- Everything should be added and working instantly.
Exceptions[]
Some tanks may have two different sets of images, animations and .moc files. The process is the same, you just need to select the files (usually indicated with a 02 for .moc, expressions and motion files. Images come in the form of (tank name)_020x.pn_). The Panzer 38(t) also comes with a second set of files. Simply follow the same steps but use the different files instead:
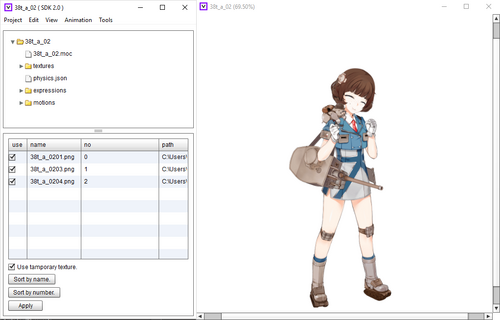